For this challenge you will need a black and white and color print of the same photo in the same size. The challenge is to scrap the black and white photo. After, cut out a portion of the color photo and put it on the black and white photo.
Example: If your picture was of a basket of apples, scrap the black and white photo as you would usually do. Then cut out one apple out of the color photo and place it on top of the black and white photo.
Add a shaker box to your layout or card. When you are done, either post a direct link in your comment or email it to me.
Directions for making a shaker box: Let's put a shaker box on our layout or card!
Step 1
Cut out your shaker box shape, such as a strawberry, watermelon, sun, moon or star. Make sure it is large enough to allow for the foam tape border and room for the contents to move about freely.
Step 2
Cut out a window inside your shape using a craft knife. Make sure you leave at least a 1/2-inch border around your shape.
Step 3
Turn your shaker box over and adhere the transparent film to the shape, using strong adhesive. Trim the excess.
Step 4
Adhere sections of foam tape to the back of the shape. Make sure you leave no gaps.
Step 5
Pour a small amount of beads, sequins, or small buttons into the well you created with the foam tape. Leave enough room for them to be able to move around.
Step 6
Peel off the foam tape backing.
Step 7
Place a piece of cardstock over the foam tape and adhere securely. Choose a complimentary color because you will see it on the inside of the shaker box.
Hello ladies and welcome to the crop. Remember, for each challenge that you complete and email to my by 8-23 you will receive one entry for the grand prize. The grand prize is a gift cert. to either M's, J's or ACmoore. The choice will be yours.
Here's the first challenge. I just spent my morning kayaking. It's something that I love to do. I want you to scrap something that you love. You can make either a card or a layout.
When you are done, either leave a comment on this post with a direct link or email it to me at creationsbyk8@gmailcom.
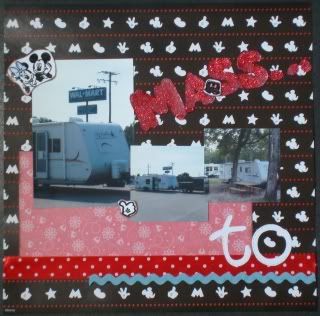
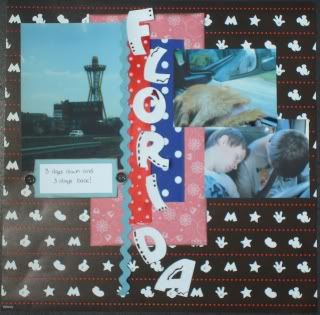
These pages are from our drive to Disney. We stopped in Virgina and Georgia on the way down. In Virgina we camped in a Walmart parking lot and we stayed in an rv resort in Georgia.
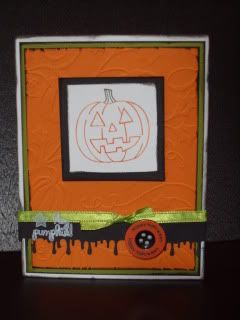
stamp - house mouse "sweet find" and the inside "candy-ween" paper - su pumpkin pie, white and black from stash cuttlebug folder - swiss dots eyelets - black from stash ribbon - black from stash punch - Martha Stewart "drippy goo"