
Combine Sections Together
This is where we left off after the last tutorial.
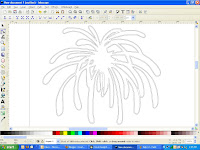
If you look near the bottom, you will notice several pieces that are separated that maybe shouldn't be. This is really all a matter of opinion. If you like it this way cut it out. It will look gorgeous. I'm a little OCD (no laughing!) and feel the need to fix these.
This is where we left off after the last tutorial.

If you look near the bottom, you will notice several pieces that are separated that maybe shouldn't be. This is really all a matter of opinion. If you like it this way cut it out. It will look gorgeous. I'm a little OCD (no laughing!) and feel the need to fix these.
Step1: While in the node format, I have dragged the lines to overlap the piece next to it where I would like them to be connected.
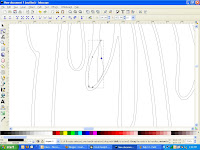

Step 2: Highlight both of these pieces. You do this by clicking on one, holding down the shift key while you click on the other.
Step 3: Click Path - union or control++
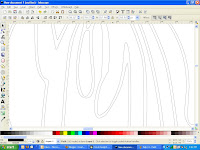
Step 3: Click Path - union or control++

Look better? Now I'm going to do the same thing to the pieces above and to the left.
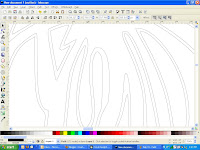

Now it's time to combine the sections together that I want cut out of the same color. Do you remember how to do that? Let's refresh:
While holding down on the sift key, click on all of the pieces you want cut out of the same color. After they are all highlighted, press control k. Now you can move them as one unit. Do this to all of your pieces and save! You are now ready to import into scal and cut away. Have fun.
Please feel free to ask any questions that you may have and please show me what you have made!
While holding down on the sift key, click on all of the pieces you want cut out of the same color. After they are all highlighted, press control k. Now you can move them as one unit. Do this to all of your pieces and save! You are now ready to import into scal and cut away. Have fun.
Please feel free to ask any questions that you may have and please show me what you have made!


