I love comments. If you like my work or download one of my files, please leave me a comment and let me know.

Thanks and happy crafting.
Showing posts with label scal. Show all posts

Wednesday, March 3, 2010

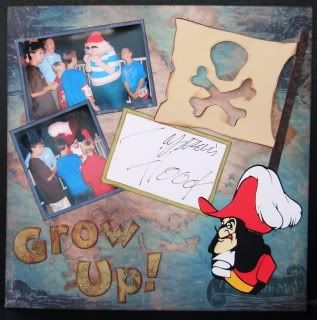
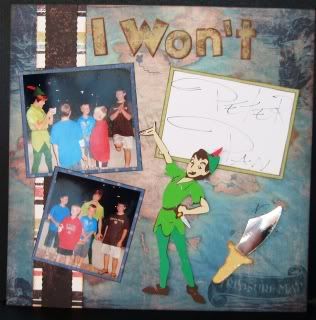
I won't grow up!


More Disney pages.

Paper: Once Upon a Time stack

Cart: Mickey Font and Paper Doll Dress Up

Peter Pan: Scal file (This is not my file. This is a link to where I did get the file from.)

Captain Hook: Scal File

This layout was originally going to include Mr. Smee. I made a cut file and cut out all of the pieces. I had to leave him on my crafting table half finished to go to work. When I came back he was gone. I couldn't find him anywhere. I eventually gave up looking and didn't cut him out again out of spite. I will share the file in case you have better luck than I do.

Mr. Smee: Scal File


Photobucket

Monday, December 28, 2009

Iron-on Vinyl


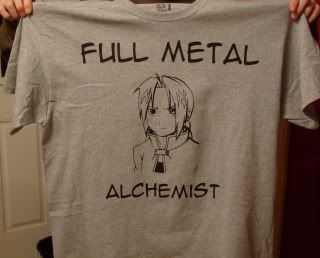
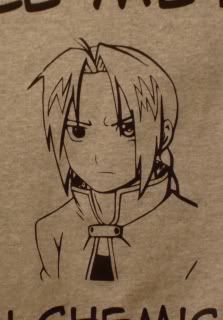
This is the t-shirt that my son made for his girlfriend for Christmas. We used the Sure Cuts Alot 2 program with my cricut. The program allows me to trace a photo and then cut it. It works great! We cut the image and letters out of heat transfer vinyl. It's very easy to use.

I buy all of my vinyl from HHSignSupply.

To use the vinyl, simple place the white side up on the cutting mat. When you cut your images, remember to flip them.

After you have cut your images, you will need to weed your vinyl. This is the process of removing all of the extra vinyl. Leave your image(s) on the clear material.

Place your image white side down onto your t-shirt. Place on ironing cloth over the image. I used a very thin kitchen towel. Press your image for 30 seconds with the iron on it's hottest setting. Continue until you have ironed the entire image.

Allow the material to cool completely.

Peel off the clear material carefully. If some of your vinyl tries to come with it, re-iron that section.

This was our first attempt at a t-shirt. It worked really well. The kids are already begging to make more. We had to order more vinyl. It should be here Monday. lol


Photobucket

Monday, September 21, 2009

Wednesday, September 9, 2009

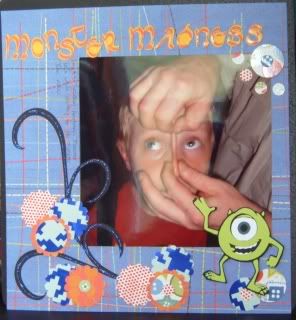
Monster Madness


I made this layout for the DT Challenge over on Practical Scrappers. The challenge was to use kindergarten type punches.

font - lindsay unical
cart - wild card
punches - su scallop, 1/2" circle and 1 3/8" circle
paper - me and my big ideas "boy"
stickles - dark blue


Tuesday, September 8, 2009

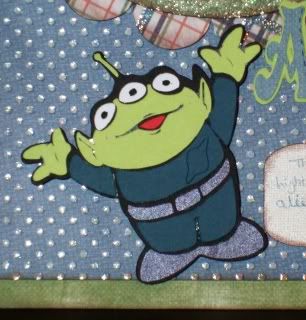
Alien Battle


sketch - scrapsketch #152
carts - george and graphically speaking
font - Victorian LET
paper - playful posies short stack with glitter
su markers - not quite navy


Monday, July 6, 2009

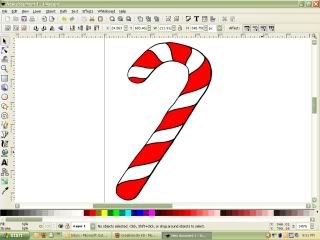
Scal Tutorial Part #5 Part 2

Combine Sections Together

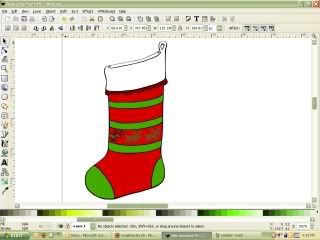
This is where we left off after the last tutorial.


If you look near the bottom, you will notice several pieces that are separated that maybe shouldn't be. This is really all a matter of opinion. If you like it this way cut it out. It will look gorgeous. I'm a little OCD (no laughing!) and feel the need to fix these.

Step1: While in the node format, I have dragged the lines to overlap the piece next to it where I would like them to be connected.


Step 2: Highlight both of these pieces. You do this by clicking on one, holding down the shift key while you click on the other.

Step 3: Click Path - union or control++


Look better? Now I'm going to do the same thing to the pieces above and to the left.


Now it's time to combine the sections together that I want cut out of the same color. Do you remember how to do that? Let's refresh:

While holding down on the sift key, click on all of the pieces you want cut out of the same color. After they are all highlighted, press control k. Now you can move them as one unit. Do this to all of your pieces and save! You are now ready to import into scal and cut away. Have fun.

Please feel free to ask any questions that you may have and please show me what you have made!