I love comments. If you like my work or download one of my files, please leave me a comment and let me know.

Thanks and happy crafting.

Tuesday, December 21, 2010

Card Gift Sets

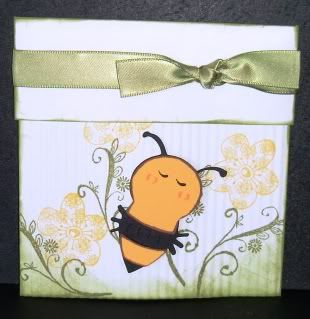
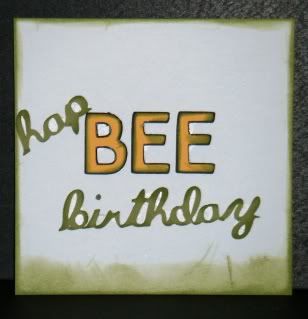
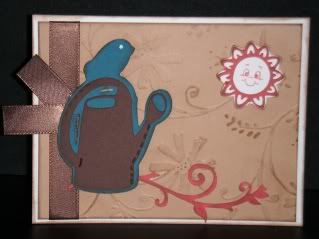
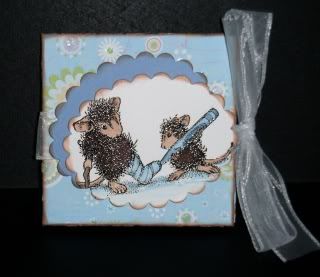
I made several of these card sets to give away as Christmas presents this year. I included an envelope with each card. I hope they like them. :)




Photobucket

Thursday, April 1, 2010

Vinyl Madness!

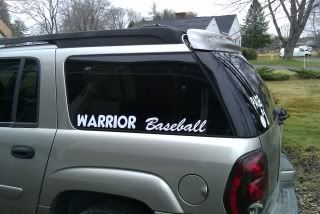
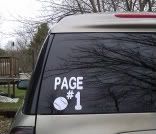
My second son just made the middle school baseball team. The "Warriors". He is shirt number 1. Go Warriors!


I few years back I bought one of these from ebay. My hubby loved it and was mad that I didn't get him one. Today I made him one of his very own.


Photobucket

Wednesday, March 24, 2010

Hap BEE Birthday

I made this card using an invitation size envelope.

Seal the envelope and then cut off one end. Decorate the envelope and then put the bottom half through a crimper. Decorate and you're done.

My inside card measures 4 inches by 4 inches.

carts - paisley, san serif and ashlyn's alphabet
stampin up - dimensionals, ribbon, ink and paper (old olive, summer sun and basic black)
stamp - from stash


Photobucket

Friday, March 19, 2010

My New Desk

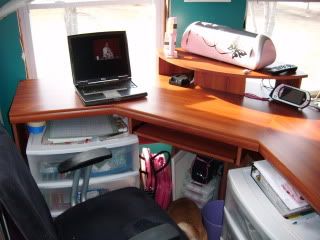
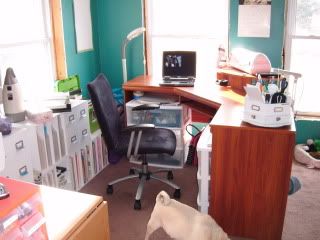
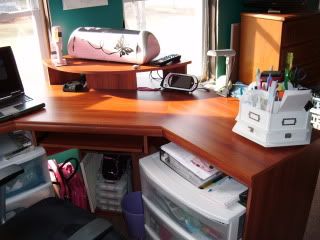
Hubby decided that I should have a new scrapping desk. Until now I have been using two folding tables from Walmart. He ordered this desk for me from Staples. I love it.


Photobucket

Sunday, March 7, 2010

Day 1


365 days has a daily card challenge. It just started up on March 1st. I've decided to give it my best shot.

Day 1 Challenge was a color challenge.

carts: Stretch Your Imagination
paper: Stampin Up "white, not quite navy, ruby red, creamy caramel and chocolate chip"
cuttlebug: stylized flowers
su ribbon, dimensionals, ink
white gel pen
stamp: Peachy Keen "Everyday Character Face Assortment"


Photobucket

Thursday, March 4, 2010

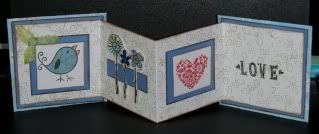
Accordion Card


Over at The Pieces Of Paper Forum we have a monthly crop. Each crop starts out with a one hour card class. This was this months class.

Accordion Card:


Step 1: Cut 2 pieces of cereal boxes or chipboard to measure 4x4 inches.

Step 2: Cut 2 pieces of patterned paper to measure 4.5x4.5 inches.

Step 3: Cut 2 pieces of cardstock to measure 3.75 x 3.75 inches.

Step 4: Cut 1 piece of neutral cardstock to measure 3.5 x 7 inches.

Step 5: Cut 1 piece of neutral cardstock to measure 3.5 x 10.5 inches.

Step 6: Adhere chipboard to the center/back of patterned paper.

Step 7: Cut off the corners leaving 1/16th of an inch.

Step 8: Fold over the edges of the patterned paper and adhere it to the chipboard.

Step 9: Adhere the cardstock squares to cover the chipboard.

Step 10: Score the 3.5 x 7 inch piece of cardstock @ 3.5 inches.

Step 11: Score the 3.5 x 10.5 inch piece of cardstock @ 3.5 inches and 7 inches.

Step 12: Fold using the mountain/valley folding method.

Step 13: Adhere both pieces of cardstock together.

Step 14: Decorate this piece of cardstock. Don't forget to do the back.

Step 15: Adhere your decorated cardstock to the covers that we already made.

Step 16: Decorate the inside of your card.

Step 17: Make item(s) to decorate the front of your card with but do not attach them!

Step 18: Cut a piece of ribbon to measure 26" long.

Step 19: Open your card and place it upside down on the table. Place the ribbon on the card and only adhere it to the front of the card!

Step 20: Apply the item(s) you made for the front over where you adhered the ribbon.

Close the card and tie the ribbon.


Photobucket

Wednesday, March 3, 2010

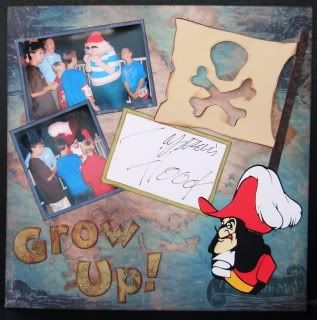
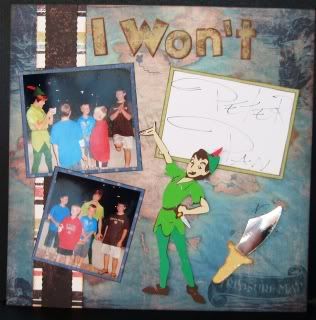
I won't grow up!


More Disney pages.

Paper: Once Upon a Time stack

Cart: Mickey Font and Paper Doll Dress Up

Peter Pan: Scal file (This is not my file. This is a link to where I did get the file from.)

Captain Hook: Scal File

This layout was originally going to include Mr. Smee. I made a cut file and cut out all of the pieces. I had to leave him on my crafting table half finished to go to work. When I came back he was gone. I couldn't find him anywhere. I eventually gave up looking and didn't cut him out again out of spite. I will share the file in case you have better luck than I do.

Mr. Smee: Scal File


Photobucket

Sunday, February 28, 2010

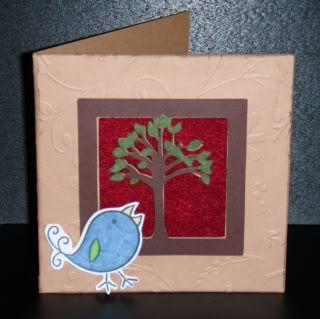
Zooballoo Challenge Card


Cynthia on the cricut message board has started a weekly challenge. This week's challenge is to use the cricut cart Zooballoo.

This is my creation. I used the card cut on the cartridge with the matching tree overlay. I cuttlebugged the base and added flower soft to the leaves. I backed my tree with red felt. The bird is a dollar stamp from Michaels.


Photobucket

Monday, February 22, 2010

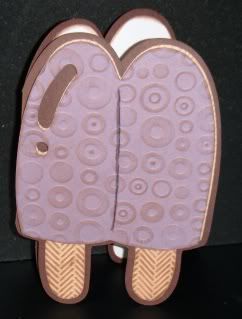
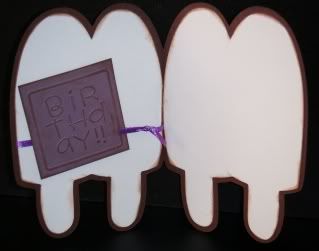
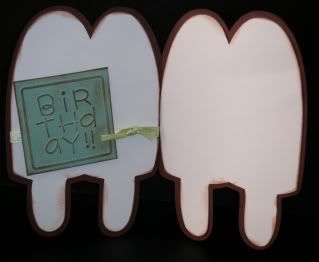
Popsicle Card


cart: doodlecharms
paper is all stampin up
cuttlebug: swiss dots, circles and dots and herringbone


Sunday, February 14, 2010

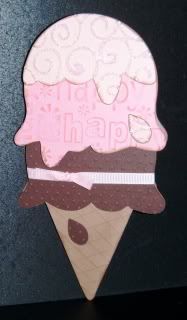
Happy Birthday Mom!

My mom's birthday is this week so I made her this card.

carts - sweet treats
paper - stampin' up "creamy caramel, chocolate chip, pretty in pink, whisper white and blush blossom"
cuttlebug folders - swiss dots, happy birthday, d'vine swirl
ribbon - stampin' up "pretty in pink"
stickles - crystal
stamps - studio g


Photobucket