Have you heard? The cuttlebug spot is giving away a gift certificate for $50. Visit their site to find out more!

Monday, July 6, 2009
Hello
Hello everyone! We had a very busy holiday weekend here. I hope that you all had fun and found time with your families. I did.
Quick reminder: Tonight is the final class over at the pieces of paper forum. Please join us in making pop-up cards. Hope to see you there!
Quick reminder: Tonight is the final class over at the pieces of paper forum. Please join us in making pop-up cards. Hope to see you there!
Thursday, July 2, 2009
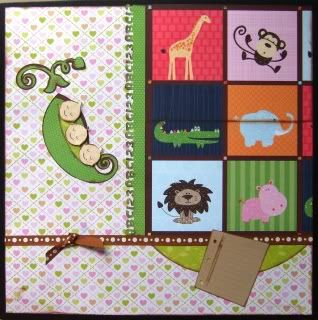
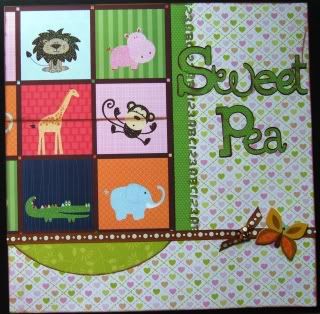
Sweet Pea
Another set of pages for my cousin's baby book.
This was originally a one page layout but I altered it to fit my needs.
sketch - scrapsketch weekly challenge
paper - DCWV "spring stack" and "safari kids"
carts - george, locker talk and new arrival
punck - ek "abc"
Today's Scal Tutorial
Today's tutorial is a secret! Want to know? You have to go here to find out:
Pieces of Paper Forum
Look under Scal and Inkscape Tutorials. It's the fourth one!
Pieces of Paper Forum
Look under Scal and Inkscape Tutorials. It's the fourth one!
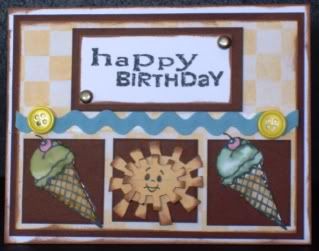
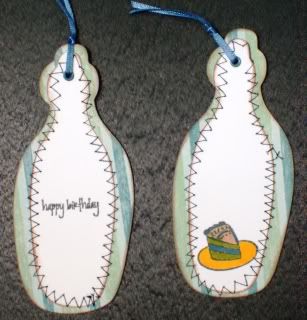
Happy Birthday
I managed to put three challenges into one card! I'm so proud of myself.
Challenge #1: Peachy Keen
This challenge was to use the following sketch:

Challenge #2: Bitten By The Bug
This challenge was to use a summer theme, a yellow button and one cricut cut.
Challenge #3: Chirper Challenge
This challenge was to use brown, zig-zags and brads.
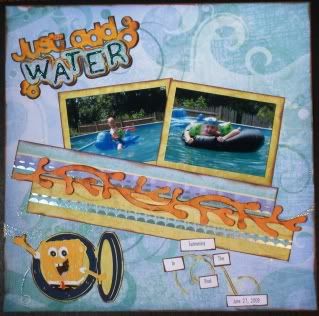
Just Add Water
I finally made a page for myself! It had been way too long.
sketch - scrapsketch #100
paper - K&Co. Happy Trails and scraps
carts - spongebob
font - scrap Katie
Wednesday, July 1, 2009
Scal Tutorial Part #3
Making Your Own Cut File Using Inkscape
Step 1: Find a coloring page online that you like. I will be using the cherry/cherries from this page for this demonstration. http://www.coloring.ws/fruit2.htm
~ Once you find your picture, right click on the picture and choose "save image as". I save mine to my desktop so I know where to find them.
~ Open your picture and crop it as necessary. The cherries didn't need any cropping.
Step 2: Open inkscape.
Step 3: Click on file, import and then choose your picture.
Step 4: Make sure that you have highlighted your image. There will be a black box around it. Click on path, trace bipmat. When the trace bitmap box opens, I change the brightness cutoff to .6 and the edge detection to 1 before I click on ok. Close this box. If you do not get a good trace, you can go back and adjust the cutoff and edge detection until you do.
step 5: You now have two images on top of each other. Highlight the top image and move it to the side. Click on view, display mode and outline. This will give you an image with a red X through it and an outlined image. Delete the image with the red X.
Step 6: On your tool bar, there are three magnifine glasses. If you click on the middle one, it will blow up your image to fill the screen. I find this helpful with the upcoming steps. The magnify glass on the right will revert back to the view that you have now.
Step 7: Click shift + control + k. This will separate each piece of your image. You should now see black boxes around each piece of the cherries.
Step 8: I like to combine all my like colors into sections. I do this by clicking on one round piece of the cherry. While holding down on the shift key, I click on the other round piece of cherry. This should highlight both of the "red" cherry pieces. To combine them press control k while they are both highlighted. Now you should have one black box around both items.
~ Now if you move these items they should move together.
~ Continue to do this to all the pieces that you want to cut together in like color groups. I didn't have any others for this image.
Step 9: I go back to the full page view. I click on each piece of my file and place it in it's own place on the page. When you do this, it is important to watch where you place your items. You don't want them too close together or they will be difficult to cut later.
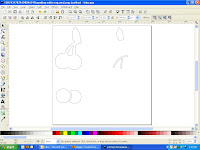
Step 10: It's time to save your file. Make sure when you save it that you can find it later.
Step 11: You can close inkscape. We are done with it.
Step 12: Open SCAL.
Step 13: Click on file, import and then choose your file.
Step 14: You can size your file by either using the properties box or by using the arrows on the box that surrounds your image.
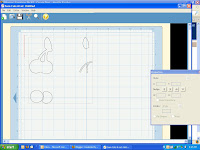
Step 15: It's time to load your paper and cut out your image. If you need your image larger than will fit on your mat that's ok. Just pick one piece of your image (the base) and make it the size you need. The other pieces will hang off of the cutting mat. Cut the base and then move your image until another piece is on the cutting mat. Do this until you have cut out all of your pieces. This is time consuming but allows you to cut larger items with layers.
I hope you enjoyed this tutorial. If you have any questions, feel free to ask.
~ Once you find your picture, right click on the picture and choose "save image as". I save mine to my desktop so I know where to find them.
~ Open your picture and crop it as necessary. The cherries didn't need any cropping.
Step 2: Open inkscape.
Step 3: Click on file, import and then choose your picture.
Step 4: Make sure that you have highlighted your image. There will be a black box around it. Click on path, trace bipmat. When the trace bitmap box opens, I change the brightness cutoff to .6 and the edge detection to 1 before I click on ok. Close this box. If you do not get a good trace, you can go back and adjust the cutoff and edge detection until you do.
step 5: You now have two images on top of each other. Highlight the top image and move it to the side. Click on view, display mode and outline. This will give you an image with a red X through it and an outlined image. Delete the image with the red X.
Step 6: On your tool bar, there are three magnifine glasses. If you click on the middle one, it will blow up your image to fill the screen. I find this helpful with the upcoming steps. The magnify glass on the right will revert back to the view that you have now.
Step 7: Click shift + control + k. This will separate each piece of your image. You should now see black boxes around each piece of the cherries.
Step 8: I like to combine all my like colors into sections. I do this by clicking on one round piece of the cherry. While holding down on the shift key, I click on the other round piece of cherry. This should highlight both of the "red" cherry pieces. To combine them press control k while they are both highlighted. Now you should have one black box around both items.
~ Now if you move these items they should move together.
~ Continue to do this to all the pieces that you want to cut together in like color groups. I didn't have any others for this image.
Step 9: I go back to the full page view. I click on each piece of my file and place it in it's own place on the page. When you do this, it is important to watch where you place your items. You don't want them too close together or they will be difficult to cut later.

Step 10: It's time to save your file. Make sure when you save it that you can find it later.
Step 11: You can close inkscape. We are done with it.
Step 12: Open SCAL.
Step 13: Click on file, import and then choose your file.
Step 14: You can size your file by either using the properties box or by using the arrows on the box that surrounds your image.

Step 15: It's time to load your paper and cut out your image. If you need your image larger than will fit on your mat that's ok. Just pick one piece of your image (the base) and make it the size you need. The other pieces will hang off of the cutting mat. Cut the base and then move your image until another piece is on the cutting mat. Do this until you have cut out all of your pieces. This is time consuming but allows you to cut larger items with layers.
I hope you enjoyed this tutorial. If you have any questions, feel free to ask.
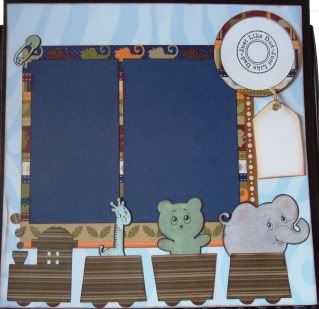
Baby book for my cousin
My cousin is having a baby in August. Her baby shower is while I'm at Disney so I won't be able to attend. I'm making a baby book for her that I will send to the shower with my aunt.
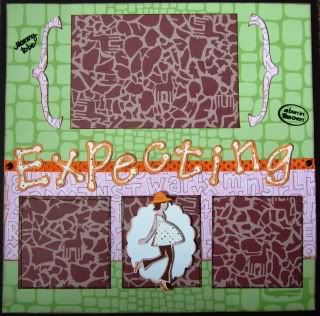
Mommy and Me:
sketch - scrapsketch #96
paper - Safari Kids Stack
carts - george, new arrival and printing 101
cuttlebug folder - perfect paisley
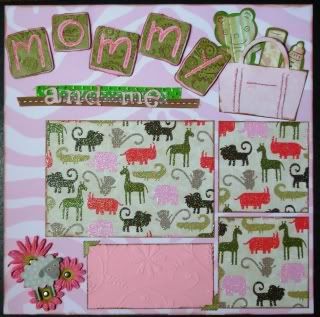
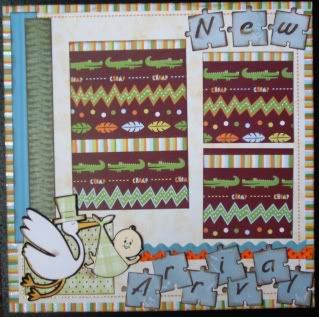
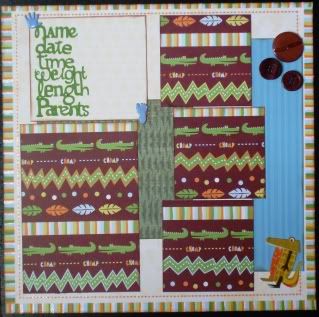
New Arrival:
sketch - pagemaps "June"
paper - Safari Kids Stack
carts - new arrival, george
cuttlebug folders - swiss dots
Monday, June 29, 2009
Card Class #6
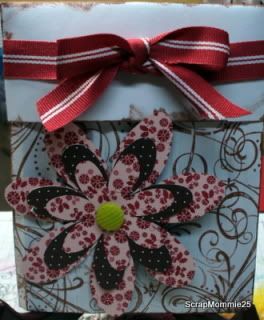
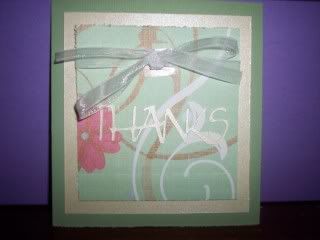
This class introduced the Envelope Card. The ladies did a wonderful job with them.
By Jenny
By Jenny
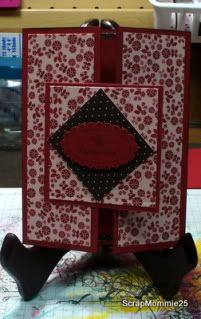
By: Sara
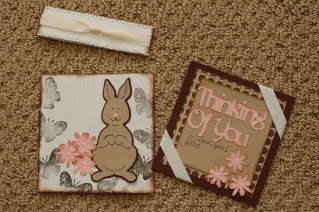
By: Kate
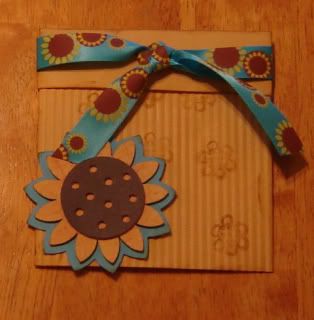
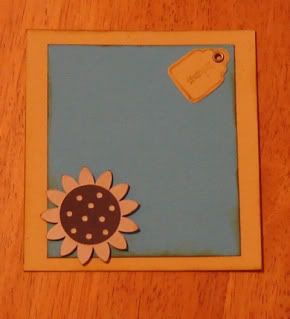
By: Mellie


Subscribe to:
Posts (Atom)