Thanks and happy crafting.
Friday, December 31, 2010
Thursday, December 30, 2010
Wednesday, December 29, 2010
Friday, December 24, 2010
It's a doggie Christmas
Thursday, December 23, 2010
Rain, Sleet or Snow
Wednesday, December 22, 2010
Snowmen Candy Bars

Tuesday, December 21, 2010
Card Gift Sets
Thursday, April 1, 2010
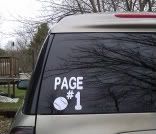
Vinyl Madness!
Wednesday, March 24, 2010
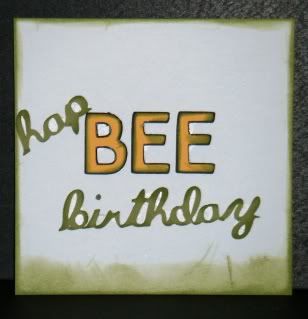
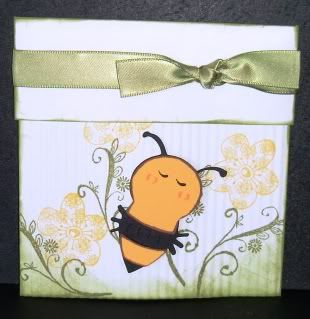
Hap BEE Birthday
Seal the envelope and then cut off one end. Decorate the envelope and then put the bottom half through a crimper. Decorate and you're done.
My inside card measures 4 inches by 4 inches.
carts - paisley, san serif and ashlyn's alphabet
stampin up - dimensionals, ribbon, ink and paper (old olive, summer sun and basic black)
stamp - from stash
Friday, March 19, 2010
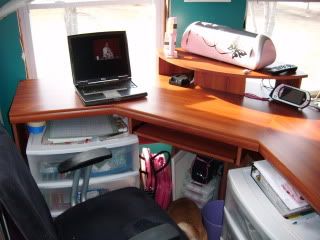
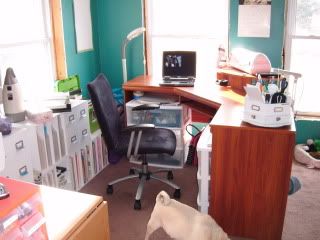
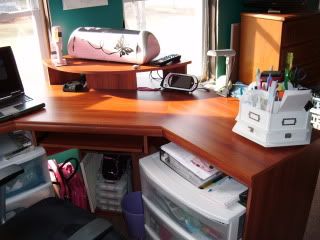
My New Desk
Sunday, March 7, 2010
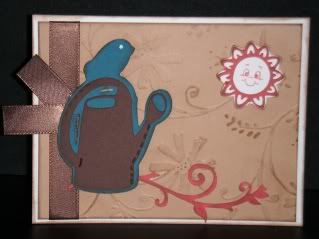
Day 1
365 days has a daily card challenge. It just started up on March 1st. I've decided to give it my best shot.
Day 1 Challenge was a color challenge.
carts: Stretch Your Imagination
paper: Stampin Up "white, not quite navy, ruby red, creamy caramel and chocolate chip"
cuttlebug: stylized flowers
su ribbon, dimensionals, ink
white gel pen
stamp: Peachy Keen "Everyday Character Face Assortment"
Thursday, March 4, 2010
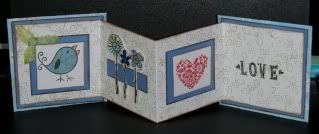
Accordion Card
Over at The Pieces Of Paper Forum we have a monthly crop. Each crop starts out with a one hour card class. This was this months class.
Accordion Card:
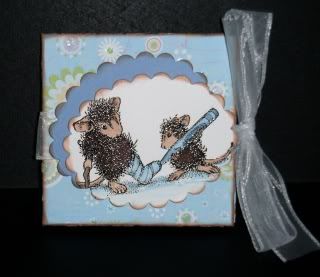
Step 1: Cut 2 pieces of cereal boxes or chipboard to measure 4x4 inches.
Step 2: Cut 2 pieces of patterned paper to measure 4.5x4.5 inches.
Step 3: Cut 2 pieces of cardstock to measure 3.75 x 3.75 inches.
Step 4: Cut 1 piece of neutral cardstock to measure 3.5 x 7 inches.
Step 5: Cut 1 piece of neutral cardstock to measure 3.5 x 10.5 inches.
Step 6: Adhere chipboard to the center/back of patterned paper.
Step 7: Cut off the corners leaving 1/16th of an inch.
Step 8: Fold over the edges of the patterned paper and adhere it to the chipboard.
Step 9: Adhere the cardstock squares to cover the chipboard.
Step 10: Score the 3.5 x 7 inch piece of cardstock @ 3.5 inches.
Step 11: Score the 3.5 x 10.5 inch piece of cardstock @ 3.5 inches and 7 inches.
Step 12: Fold using the mountain/valley folding method.
Step 13: Adhere both pieces of cardstock together.
Step 14: Decorate this piece of cardstock. Don't forget to do the back.
Step 15: Adhere your decorated cardstock to the covers that we already made.
Step 16: Decorate the inside of your card.
Step 17: Make item(s) to decorate the front of your card with but do not attach them!
Step 18: Cut a piece of ribbon to measure 26" long.
Step 19: Open your card and place it upside down on the table. Place the ribbon on the card and only adhere it to the front of the card!
Step 20: Apply the item(s) you made for the front over where you adhered the ribbon.
Close the card and tie the ribbon.
Wednesday, March 3, 2010
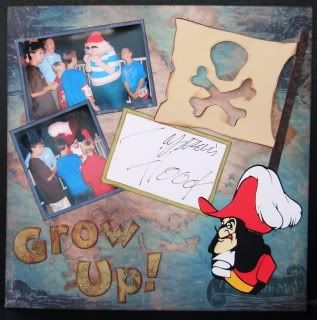
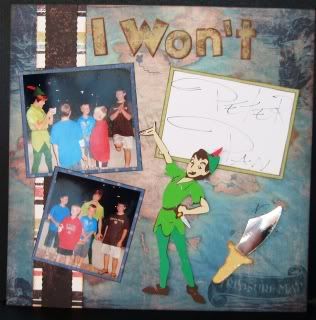
I won't grow up!
More Disney pages.
Paper: Once Upon a Time stack
Cart: Mickey Font and Paper Doll Dress Up
Peter Pan: Scal file (This is not my file. This is a link to where I did get the file from.)
Captain Hook: Scal File
This layout was originally going to include Mr. Smee. I made a cut file and cut out all of the pieces. I had to leave him on my crafting table half finished to go to work. When I came back he was gone. I couldn't find him anywhere. I eventually gave up looking and didn't cut him out again out of spite. I will share the file in case you have better luck than I do.
Mr. Smee: Scal File
Sunday, February 28, 2010
Zooballoo Challenge Card
Cynthia on the cricut message board has started a weekly challenge. This week's challenge is to use the cricut cart Zooballoo.
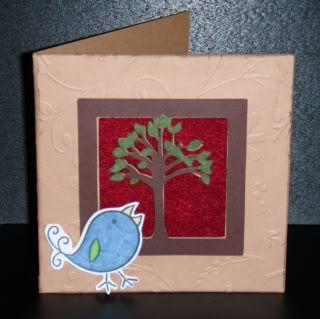
This is my creation. I used the card cut on the cartridge with the matching tree overlay. I cuttlebugged the base and added flower soft to the leaves. I backed my tree with red felt. The bird is a dollar stamp from Michaels.
